Silnylon Hexagonal Tarp

Project goal:
- Easy to make
- Covers the whole hammock and pulls taut
- Lightweight (under 10 oz)
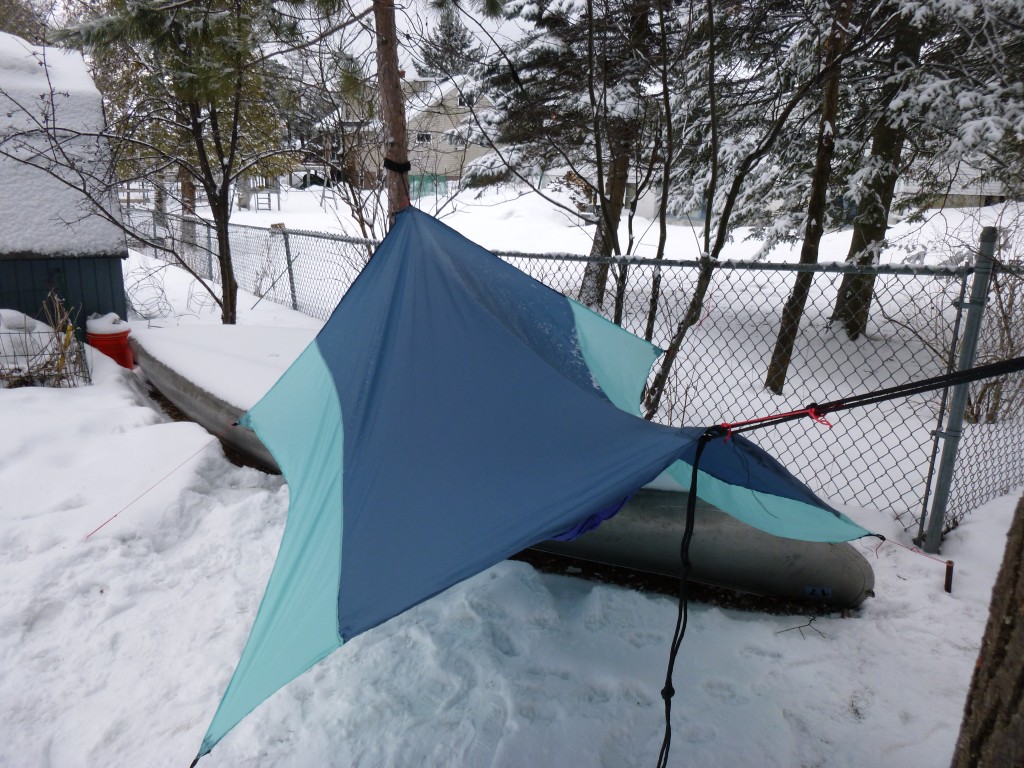
- Can be set up as a ground tarp with trekking poles
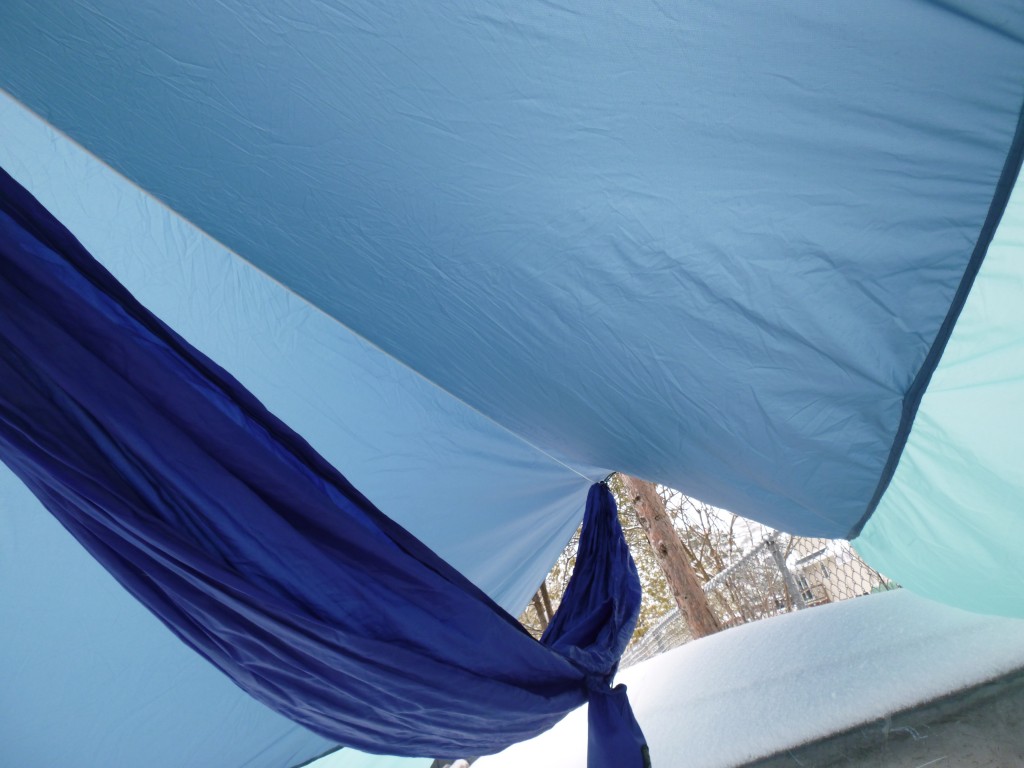
- Looks super cool with the dual-color design
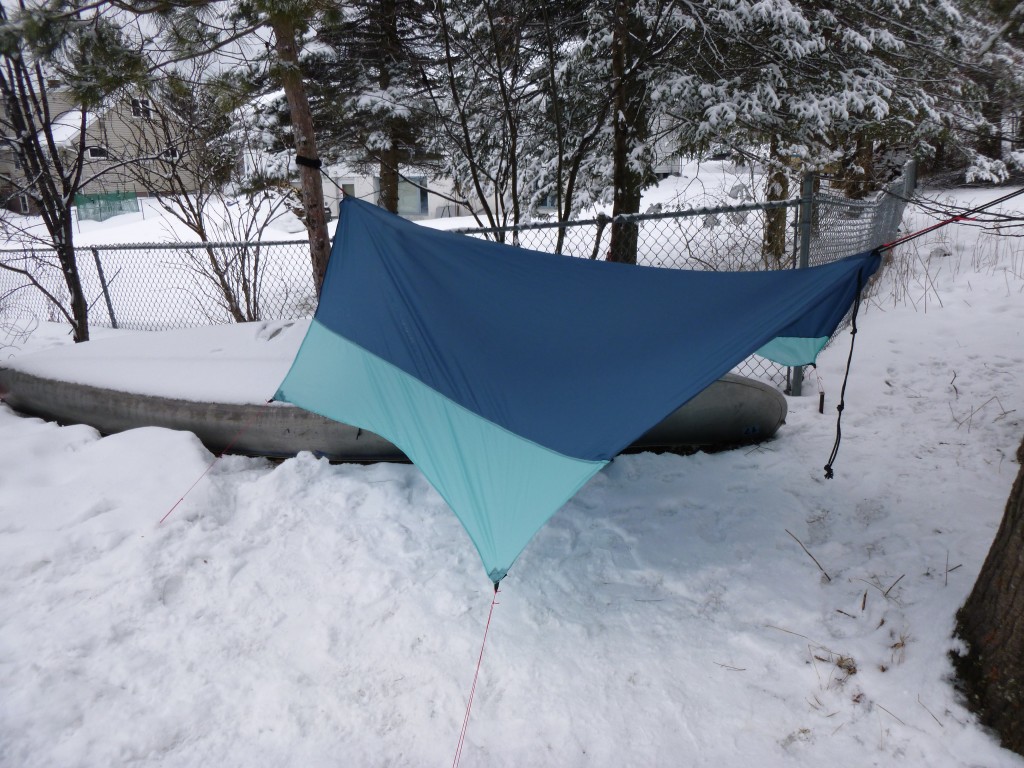
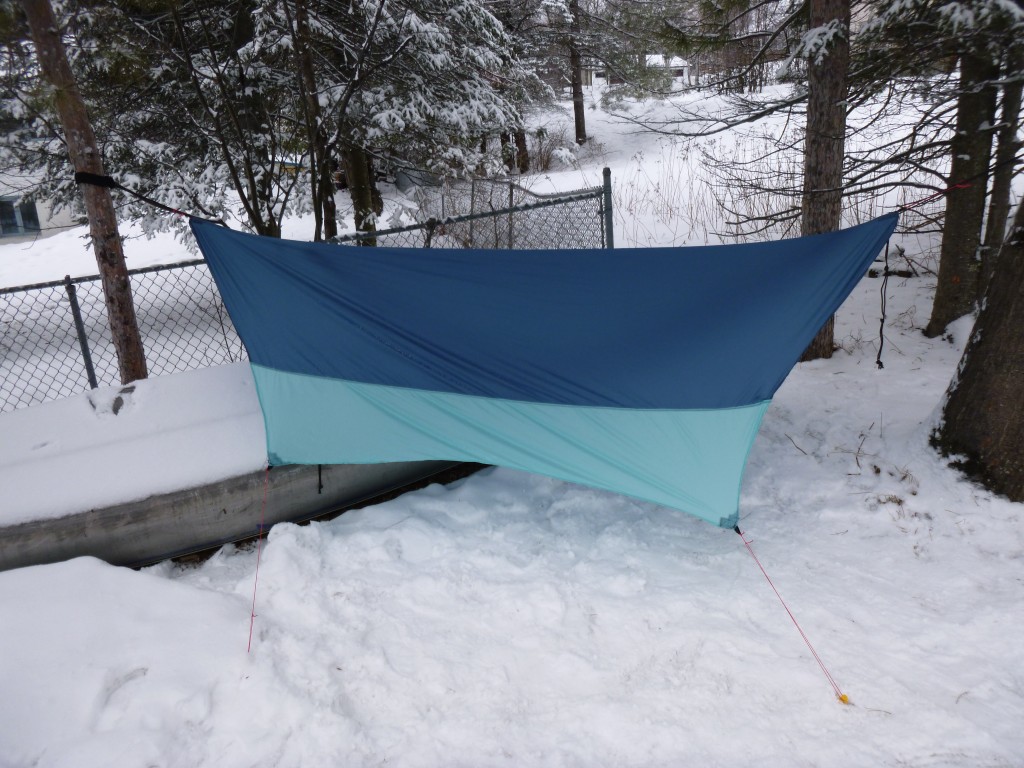
Final specs (click here to go to finished pics):
- Total weight (with string up kit): 262 grams, 9.24 oz, 0.58 lbs
- 10′ 3″ long ridgeline by 7′ 97″ wide at the widest
Materials:
- 7 yards 1.1 oz Silnylon (3 yards Robin Egg Blue, 4 yards Real Teal)
- 1 yard 2.2 oz HEX70 ripstop nylon (Vader Blue)
- 25′ 1.75mm Zing-it
- 1 yard- 5/8″ Grosgrain ribbon
- 1 yard- 1 3/8″ Grosgrain ribbon
- Black 100% polyester thread
Steps:
Lay out and cut fabric:
Cut the Real Teal Silnylon to 10′ 4″ long and lay it out. Cut 2- 20″ wide sections of Robin Egg Blue Silnylon all 3 yards long. Align the Robin Egg strips on each long side of the Real Teal section in the center. That is, leave approximately 1/2 yard of Real Teal on each short side. Stack and pin them so the outside sides are touching.
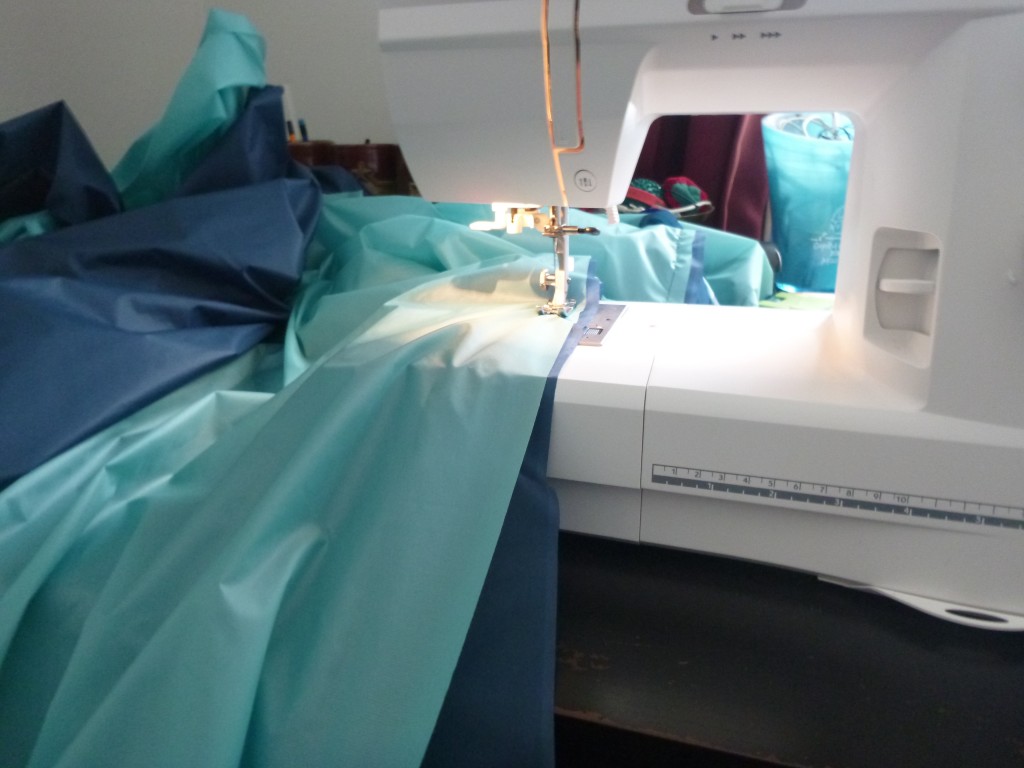
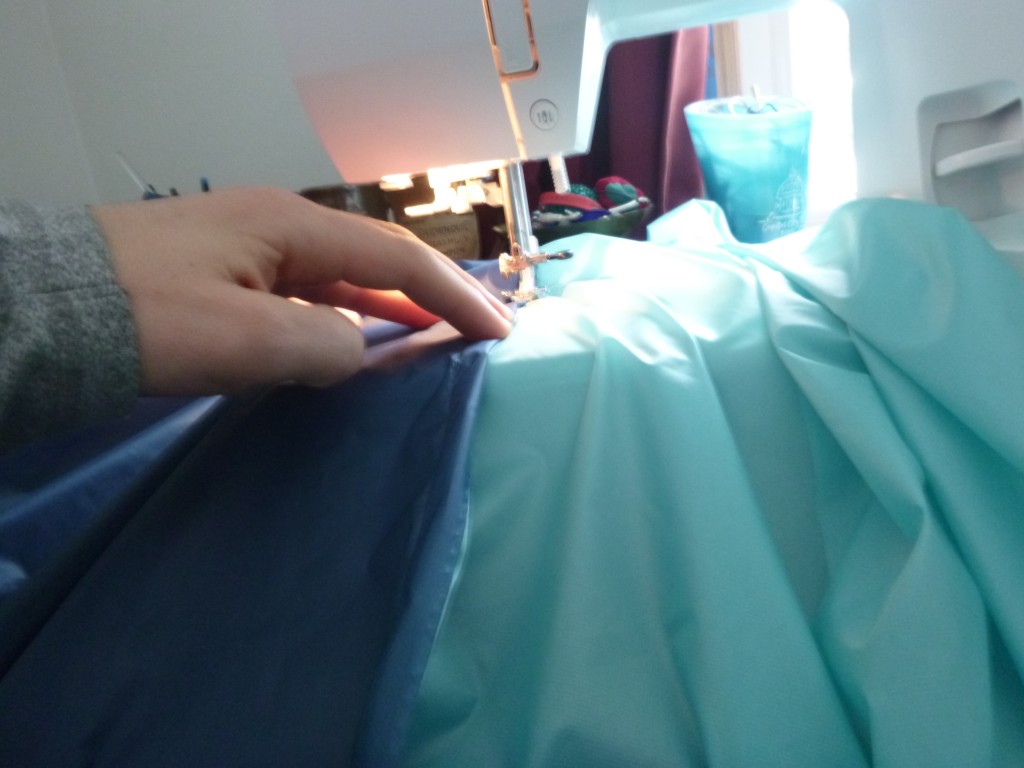
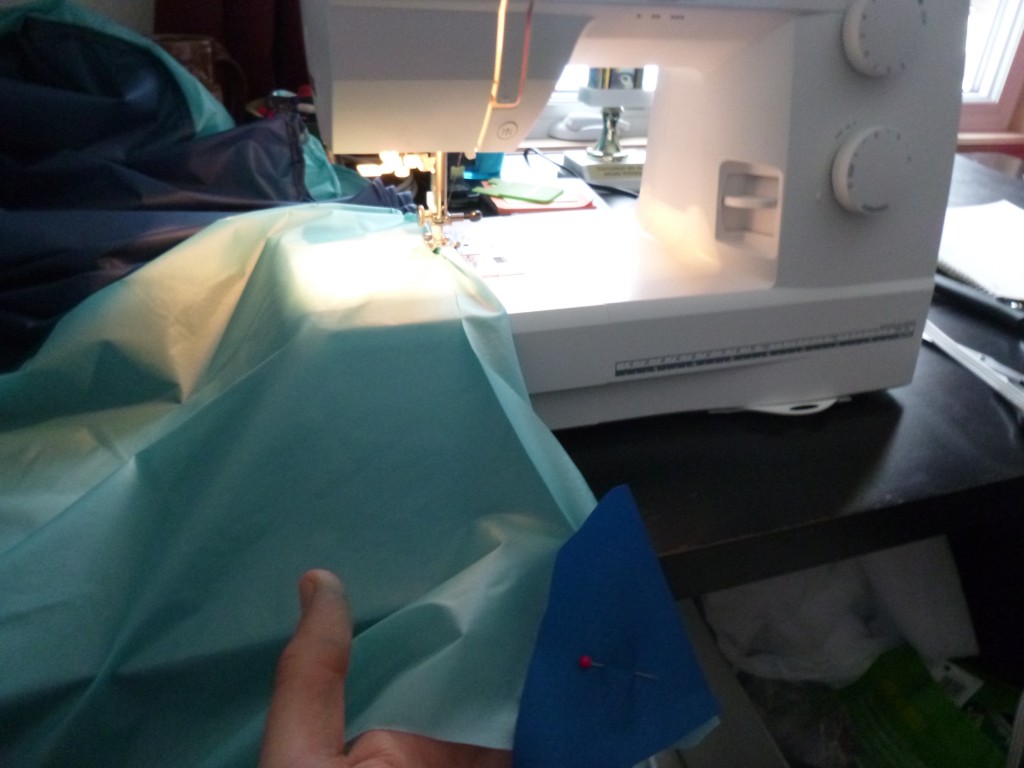
Stitch fabric together with flat felled seam:
Use a flat felled seam to connect the three pieces of fabric. If you want a better description of this type of sewing technique, go to Google and/or YouTube. To start, run a straight stitch on each side with about 1/2″ seam allowance. Try to keep the layers lined up as best as possible. With the lightweight and waterproof Silnylon, it’s pretty difficult to keep things together. The fabric is super slippery and it takes patience to keep everything lined up.

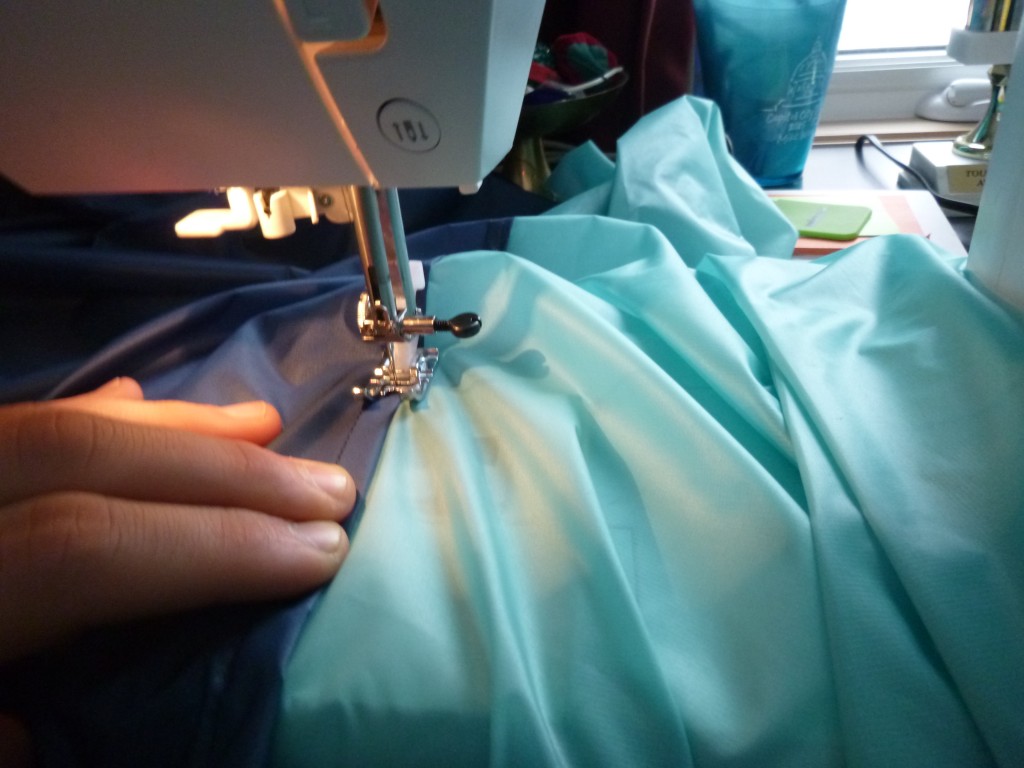
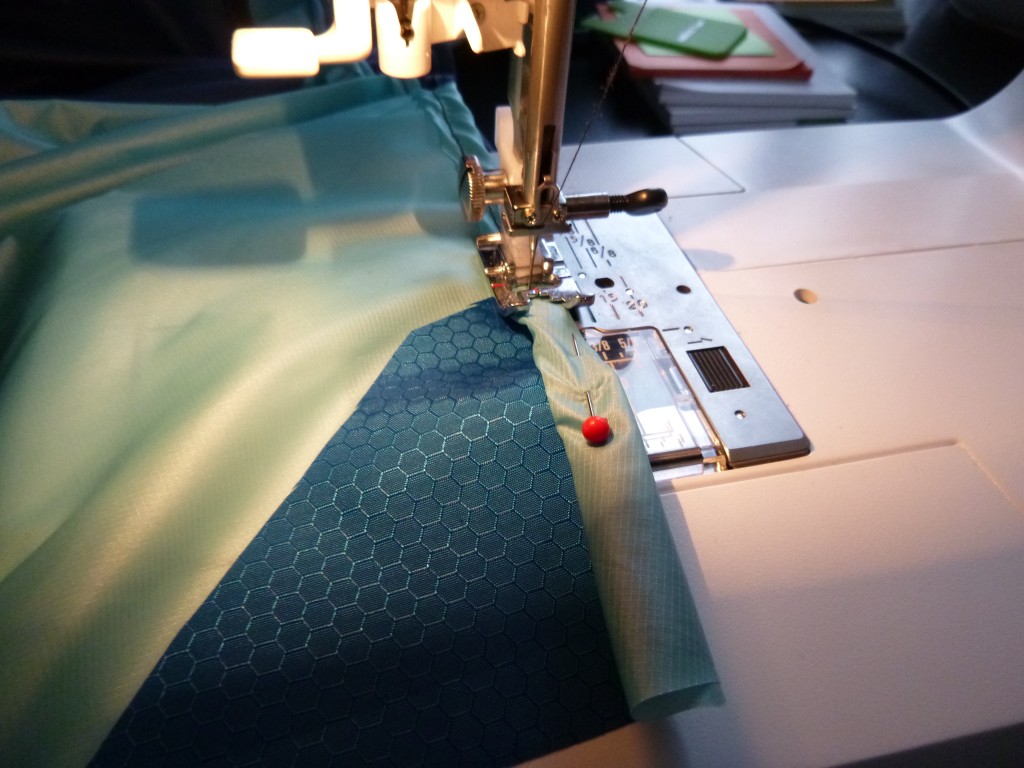
Then, pull apart the layers, fold the longer layer (in my case it was the Real Teal) over the shorter layer (Robin Egg Blue), and then fold once more so no rough edges are exposed (essentially a rolled hem… look that up on YouTube if you need to know).
Cut to shape:
Following a cat-cut design on the Ripstop By The Roll website (click here and look under the Instructions tab), mark out the corners at 2′ in from the very end. This should leave 6′ between each corner tieout. At the middle of the tarp, measure 6″ up. This will be the highest point of the curved cut. Then, stretch a long and flexible PVC pipe along the marks to trace the curve with a marker. Make a mark in the exact middle of the short sides of the rectangle for the end tieouts/ridgeline. For the side curves, just freestyle it! After the cuts, the tarp should be in its final shape.
Sew a rolled hem around the entire perimeter:
Start sewing a rolled hem. If you need to know what that is, Google or Youtube is a great source. Don’t sew the corners or the end without adding the reinforcement corners!
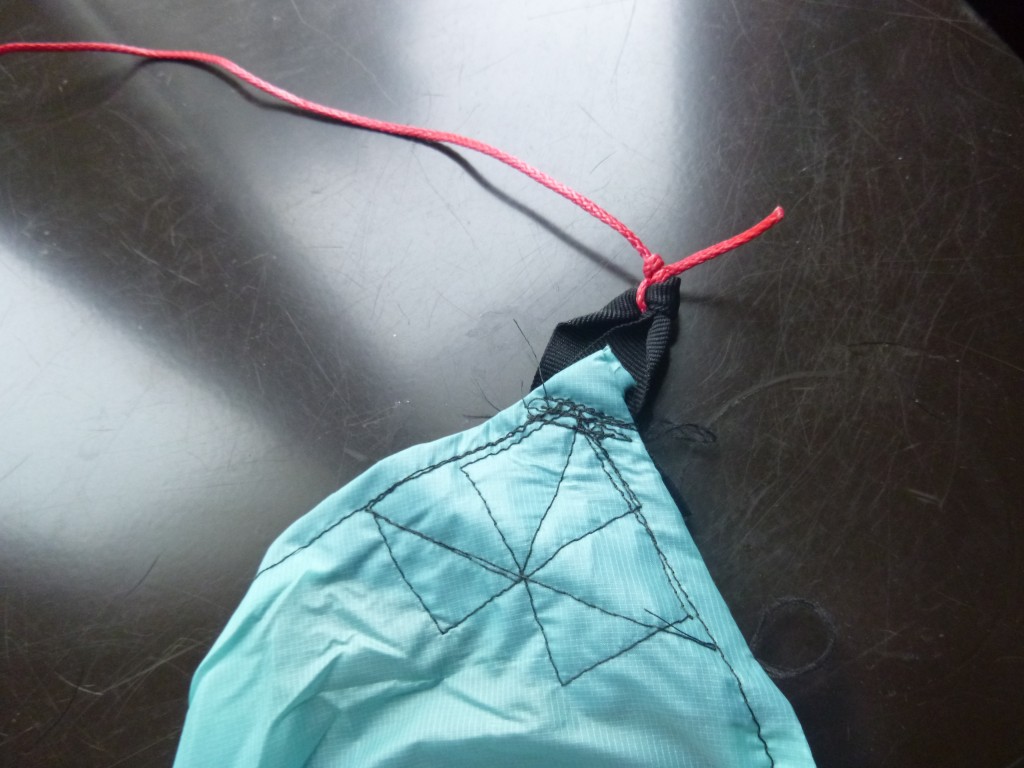
Sew in corner reinforcement corners:
Custom cut triangles of HEX70 ripstop to fit each of the four corners, and rectangles for each long end. When sewing the rolled hem around the perimeter, slide the reinforcement patch under the fold and sew it in.
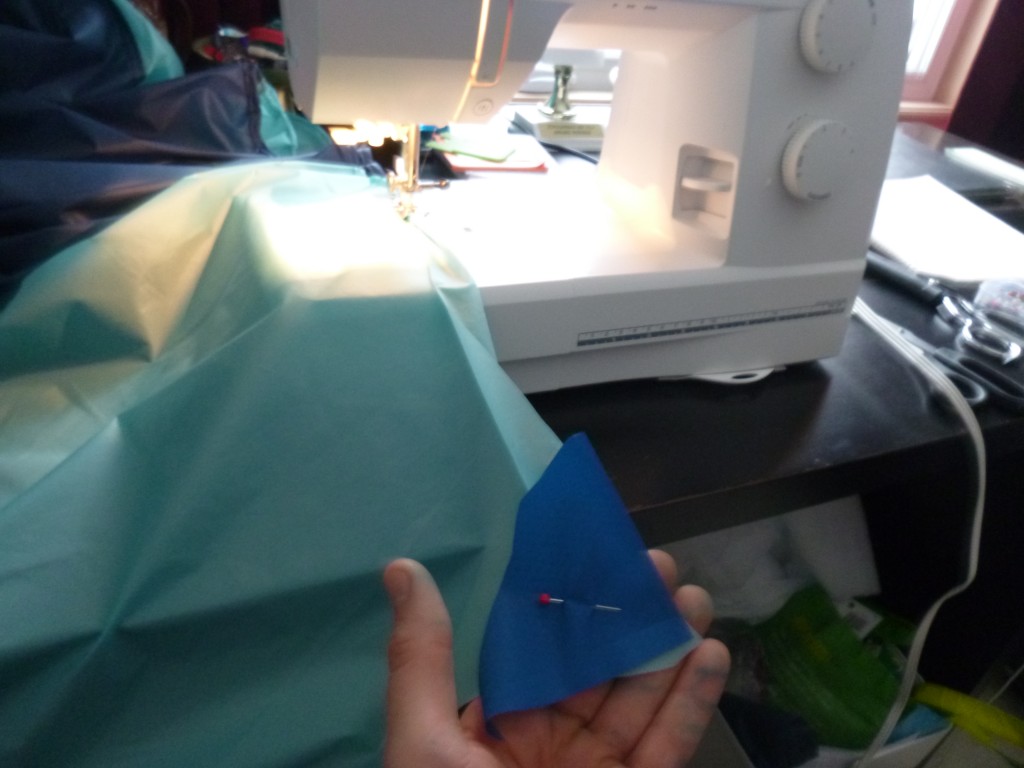
It helps tremendously to pin the corners as you sew the reinforcement patches in. This is definitely not the spot that you want a sloppy stitch, and a clean fold will make things much easier!
Cut Grosgrain ribbons:
By now, the tarp has taken shape and is pretty much done. This is the last sewing step. Cut the wide Grosgrain into 12- 2″ (?????) strips. Use two for each corner, and two for each end. Cut the skinnier Grosgrain into 6- 4″ strips for the tie-down loops.
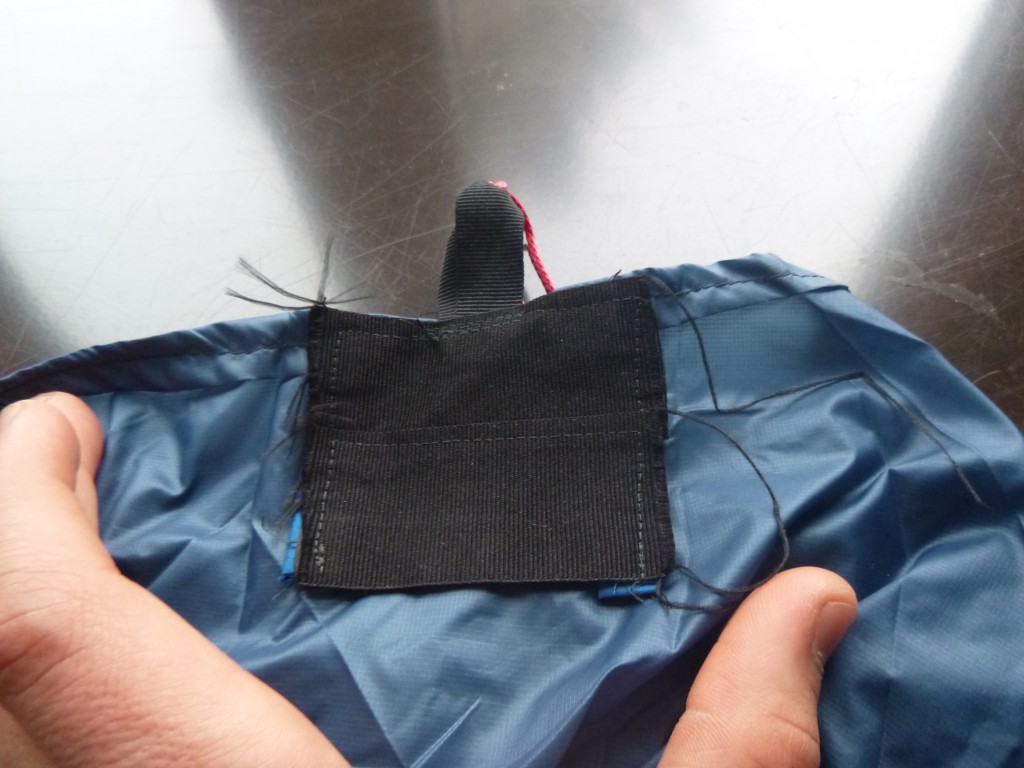
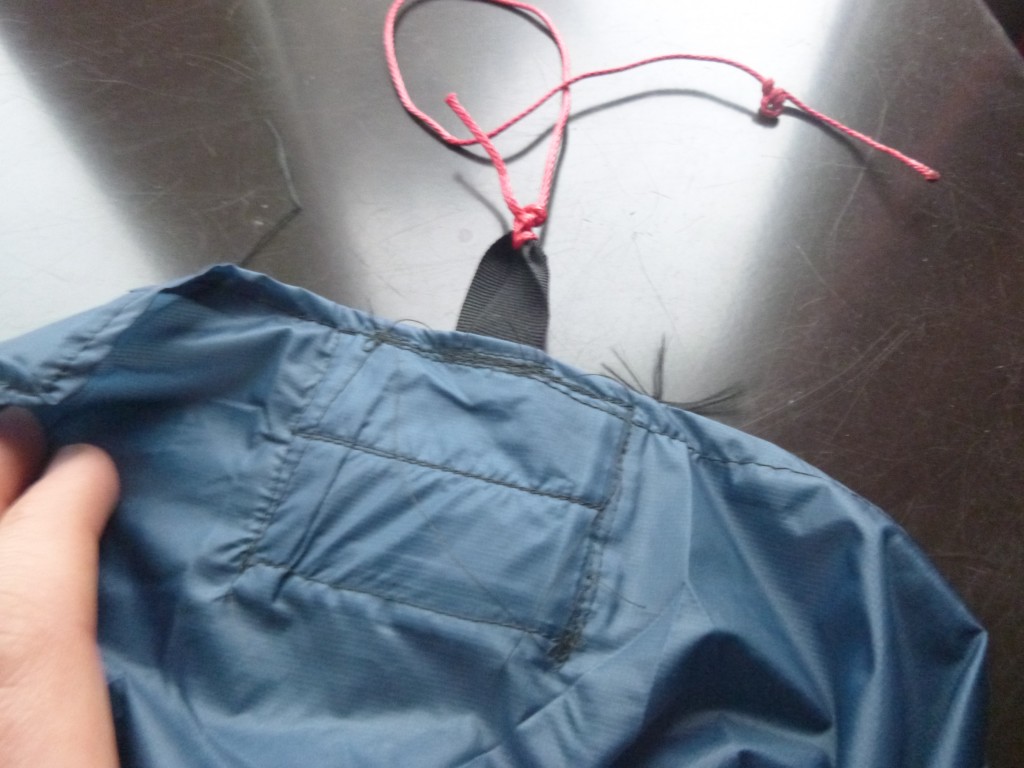
Sew ends:
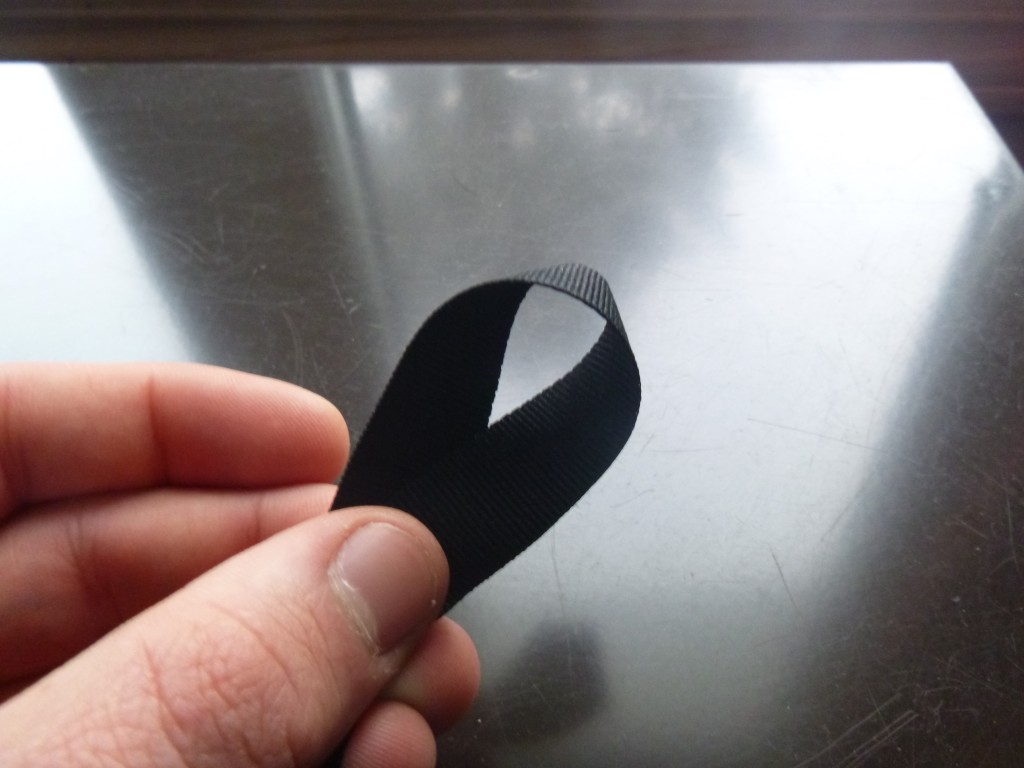
To make the loops, simply fold the skinny Grosgrain into a loop with and make the same side up.
With the tarp’s outside layer down, stack a loop and a strip of wide Grosgrain on top. Tack this on, then sew the perimeter, then add a few more stitches for extra reinforcement. Then, sew the second wide Grosgrain right below, with a slight overlap. Be sure to only sew three sides, allowing for a ‘pocket’ for a trekking pole or stick for use as a ground tarp. Repeat for the other end.
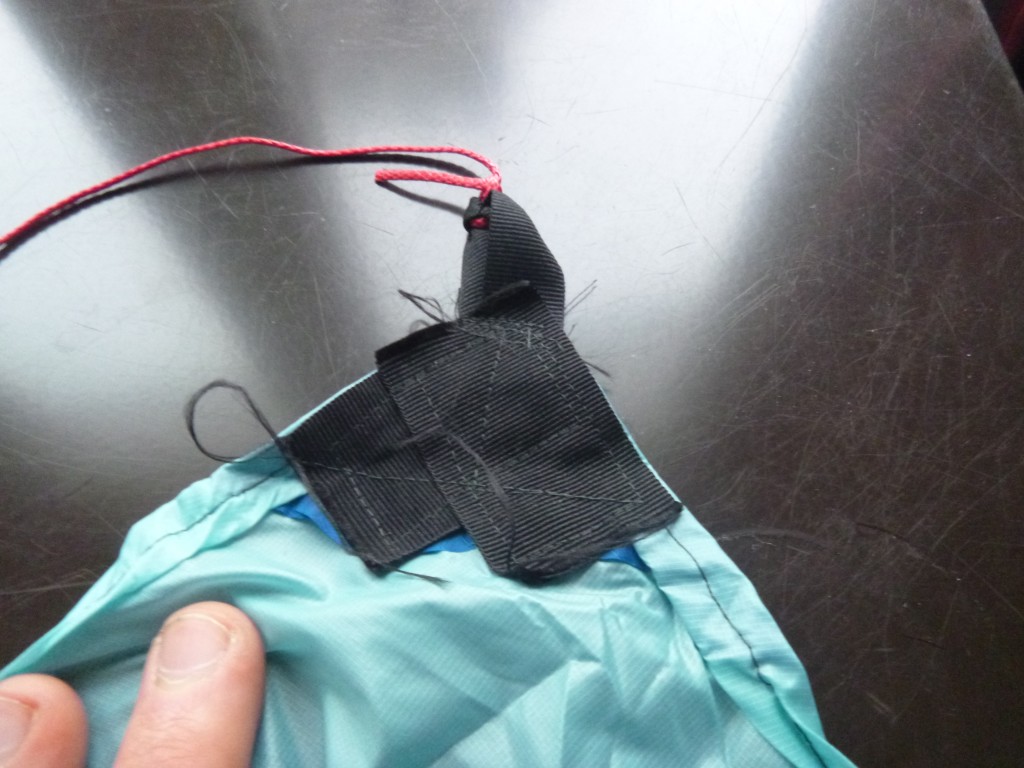
Sew corners:
Use the same loop technique, but sew the wide Grosgrain ribbons to make an L shape/right angle. Make sure to use plenty of reinforcement stitches!
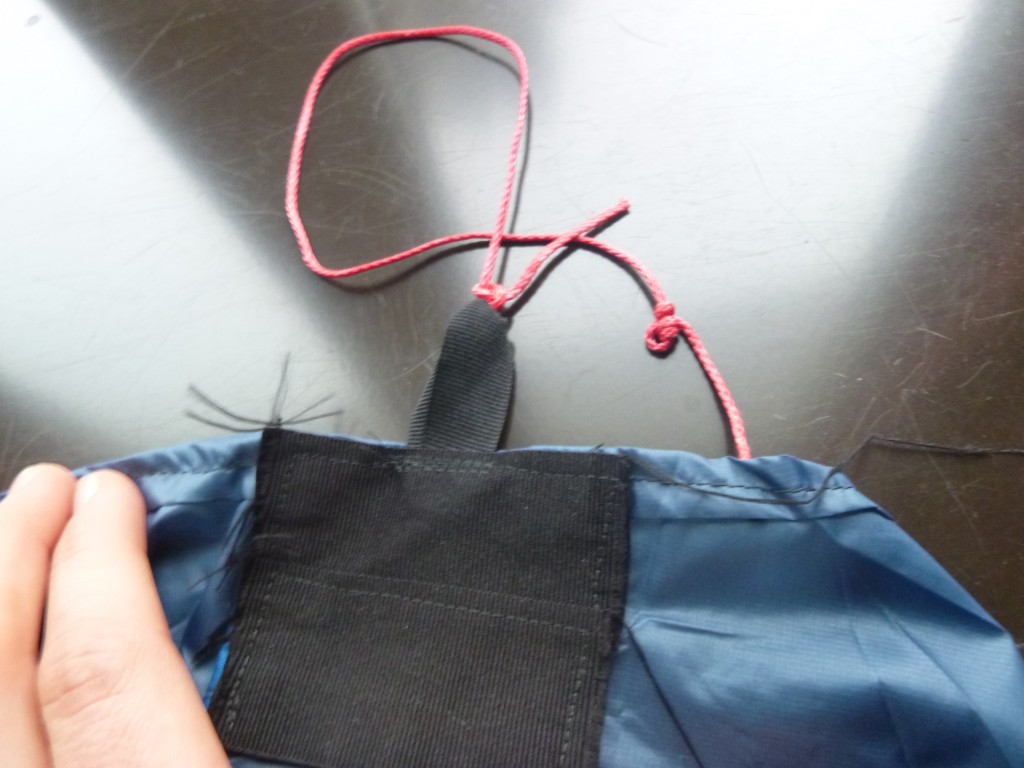
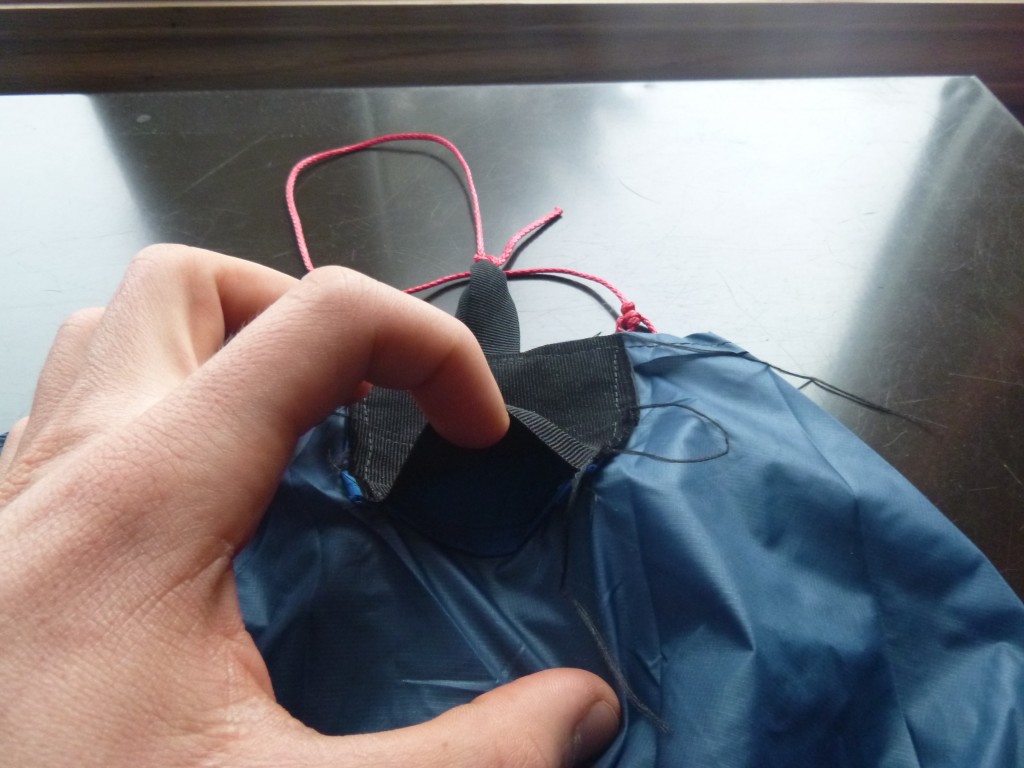
Tie Zing-it tieouts:
The tarp is essentially done! All that’s left is to attach the tieouts. I used two half-hitches on the loop side, then a taut line hitch to form another loop for the stake side.
DONE
0 Comments