Climashield Winter Hammock Underquilt

Project goal:
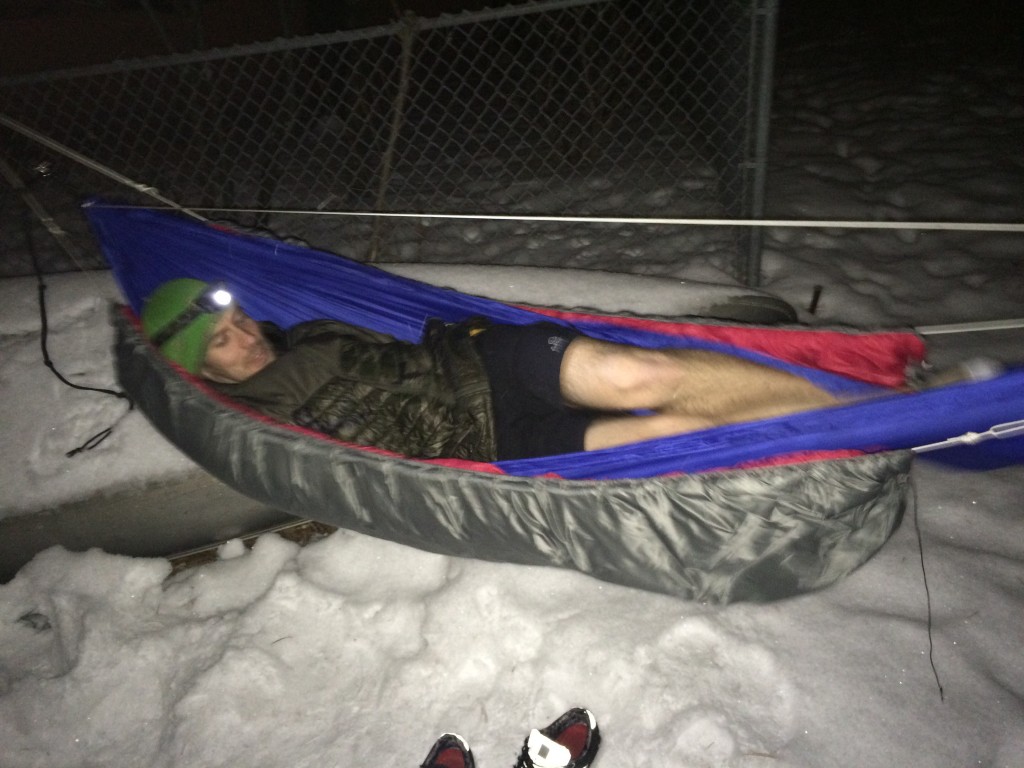
- Good to around 20 degrees in the hammock.
- Around 1 lb, give or take a few ounces
- Bungee cinches at the end
- A channel running the entire length, making it easier to string up and adjust
- 6ft long, 4 ft wide
- ~$75 in materials
Final specs (click here to go to finished pics):
- Total weight: 895 grams, 31.57 oz, 1.97 lbs
- Without hangup kit: 835 grams, 29.45 oz, 1.84 lbs
- 69″ long by 43″ wide (5.75′ x 3.58′)
Materials:
- 2 yards 7.5 oz/yard Climashield Apex
- 2 yards 1.0 oz/yard calendared HyperD Diamond Ripstop – red
- 2 yards 1.1 oz/yard calendared Ripstop Nylon – grey
- Gutermann MARA 70 thread
- 5 yards Paracord – white
- 90″ tiny Bungee cord
Steps:
Cut Fabric:
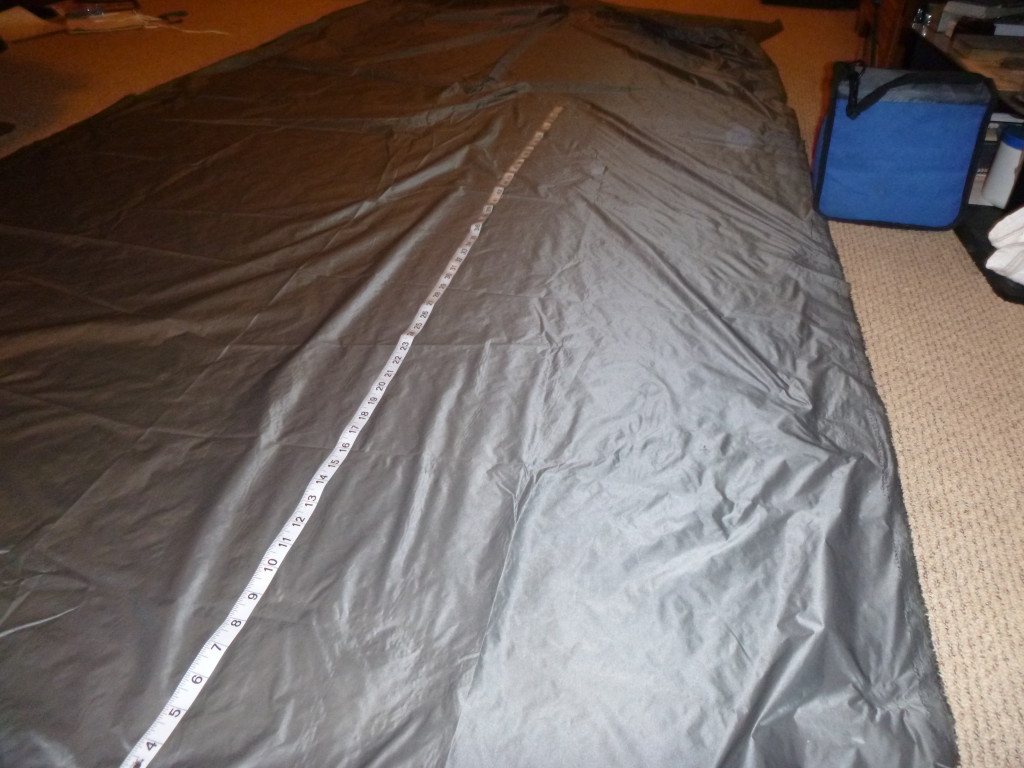
Cut one section of Diamond Ripstop and one section of grey Ripstop to 50 inches wide by 78 inches long. Cut two sections of grey Ripstop 5 inches wide by 78 inches long. The two big pieces are the top and bottom of the quilt, and the two skinny pieces make the long channels for paracord for stringing.
Sew hems:
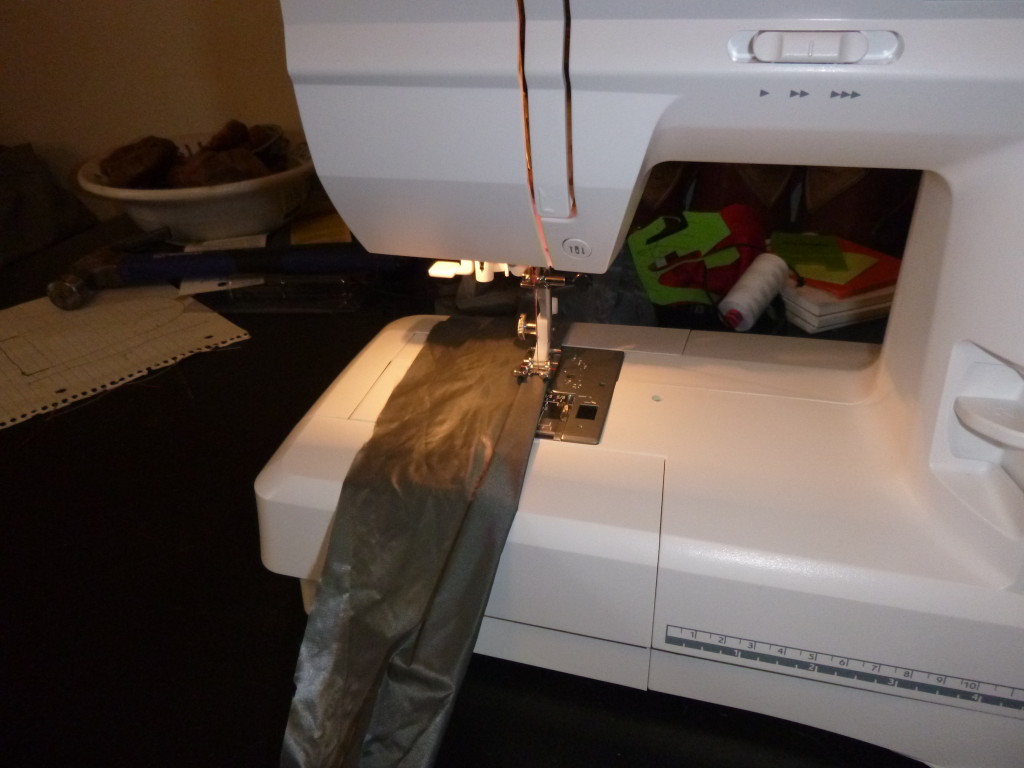
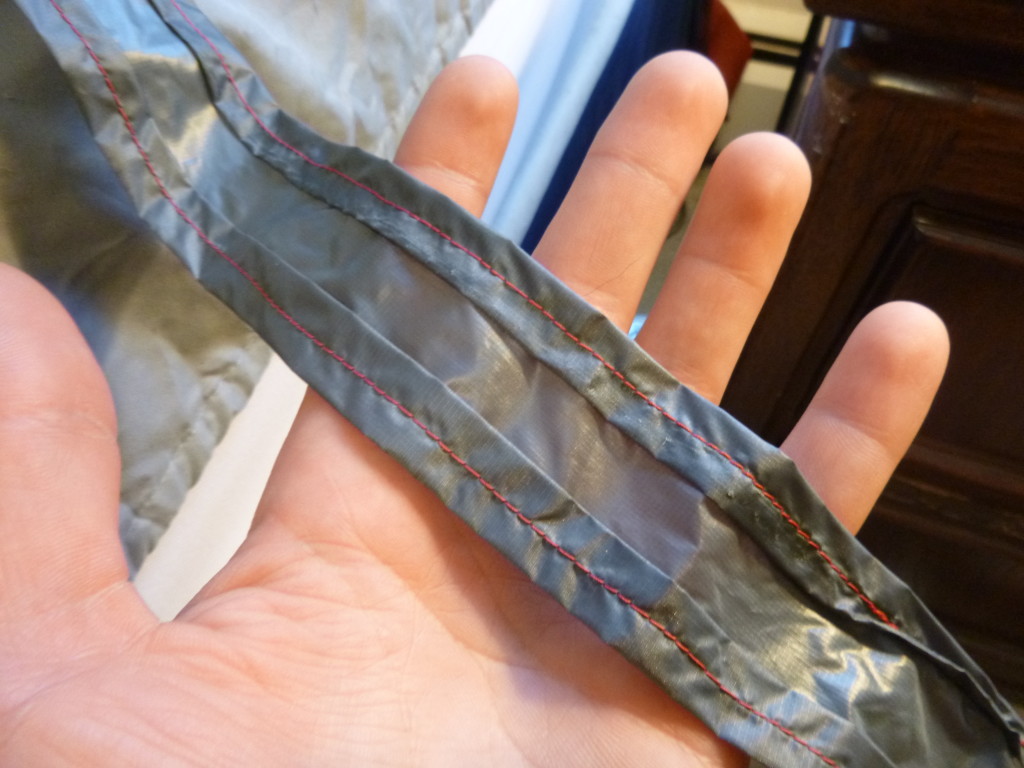
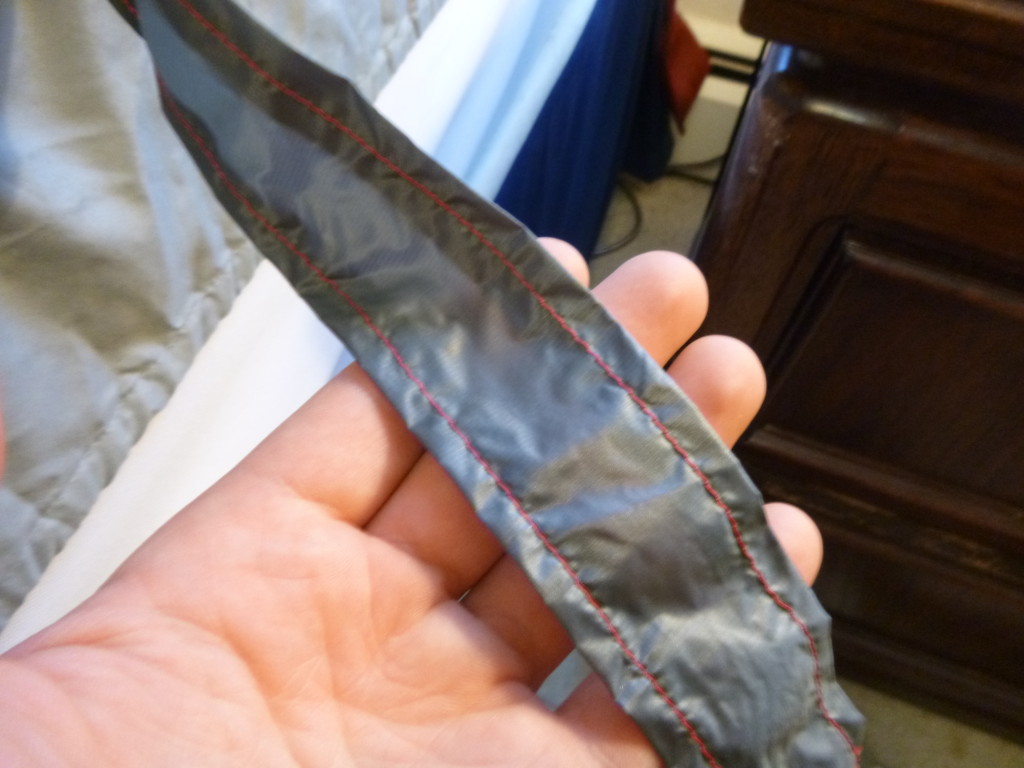
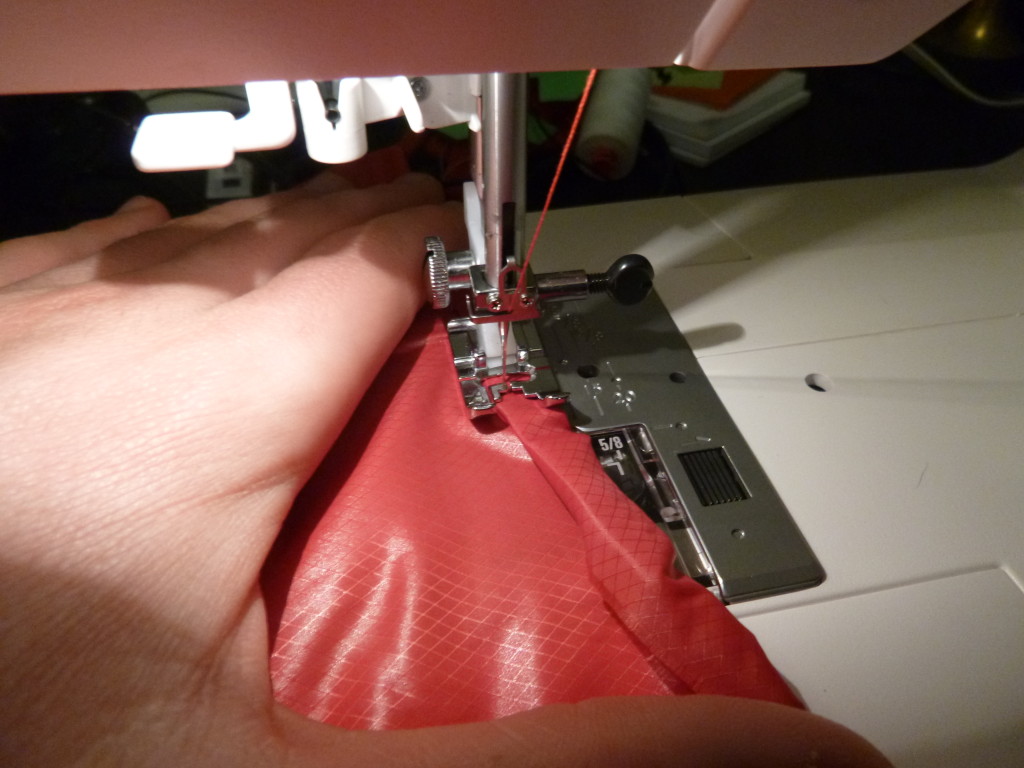
Sew a rolled hem along all edges of all four sections.
Cut insulation:
Lay the two large sections on the ground, match the corners as best as possible. Then, lay the insulation on top and cut any large sections off. Ideally, insulation will stick out 1/4″ from every side.
Layer and pin:
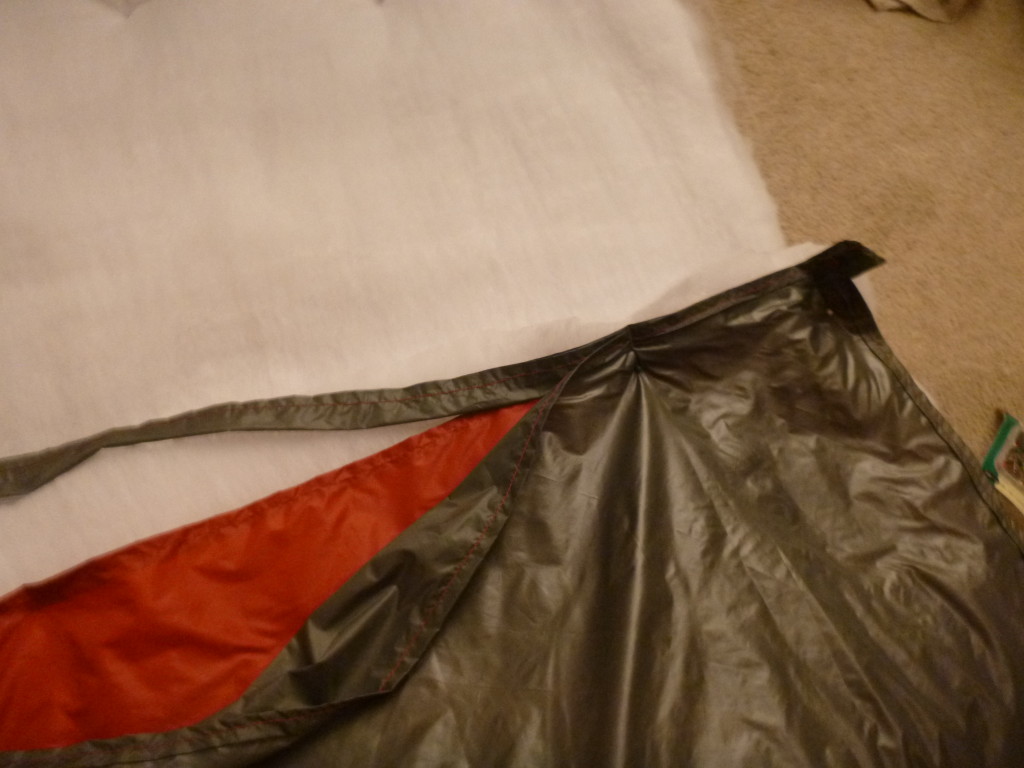
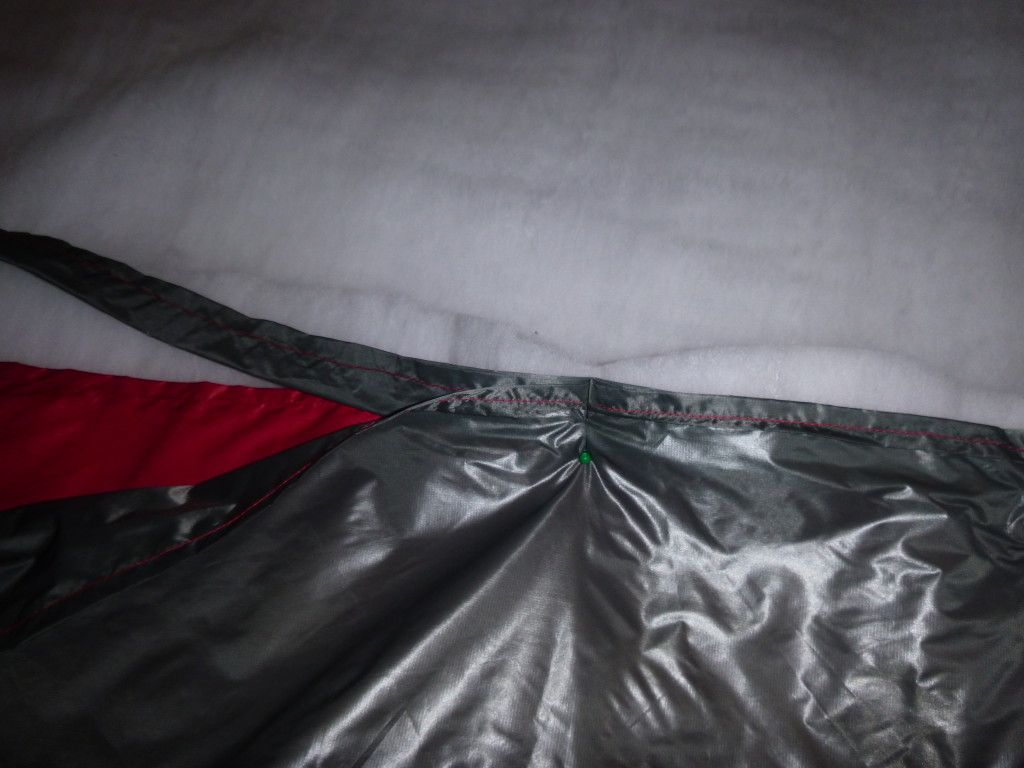
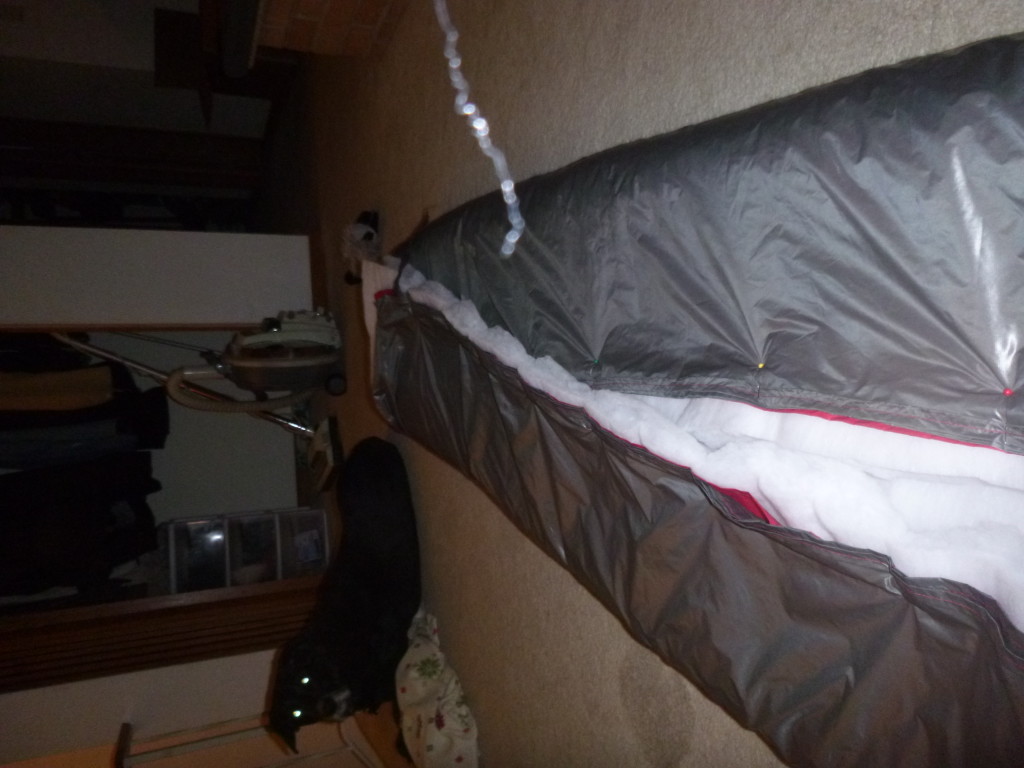
In the sewing machine, the insulation is against the machine. With calendared fabric, the outside side is the matte side, the inside side is the shinier side. Place the matte sides together. The 5″ channel is to be folded in half, with the fold towards the inside. Then layer, from bottom to top: insulation, red Diamond Ripstop (inside layer), folded channel, and grey Ripstop (outer layer). Line all fabric layers as close as possible without bunching up. Pin the two long sides first. Be careful to pin with enough room for the channel. If the channel is out of line, there will not be enough room for the paracord or it will simply miss the stitch.
Sew long sides:
Run a straight stitch along both long sides, trying to get as close to the rolled hem stitch as possible, but without going over (keep the rolled hem stitch towards the outside). Fold the channel in so there is a 2″ gap between the ends.
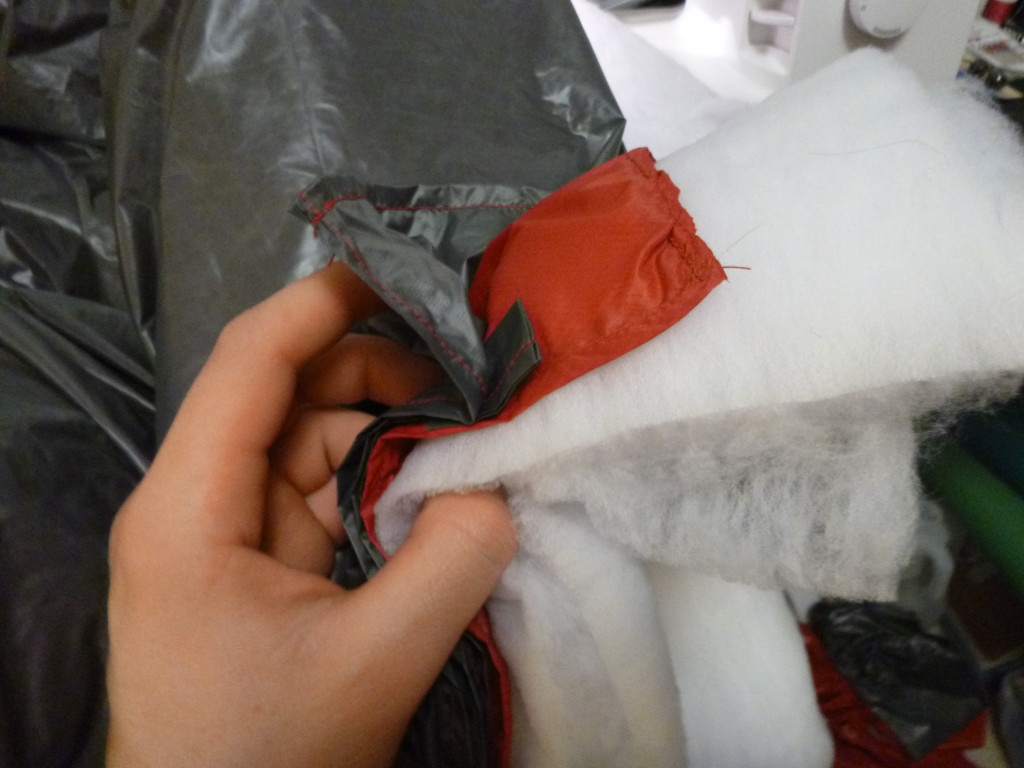
Sew one short side (foot side):
Run a straight stitch along one small side, careful to sew outside of the 2″ where the channel stops. If you accidentally sew the channel shut, the paracord will not be able to pass through!
Sew 15″ in from each side of the other short side (head side):
Starting from the top of the other shorter side, sew in 15″, leaving a break to flip the whole quilt right-side out. Then, starting 15″ from the bottom, sew down.
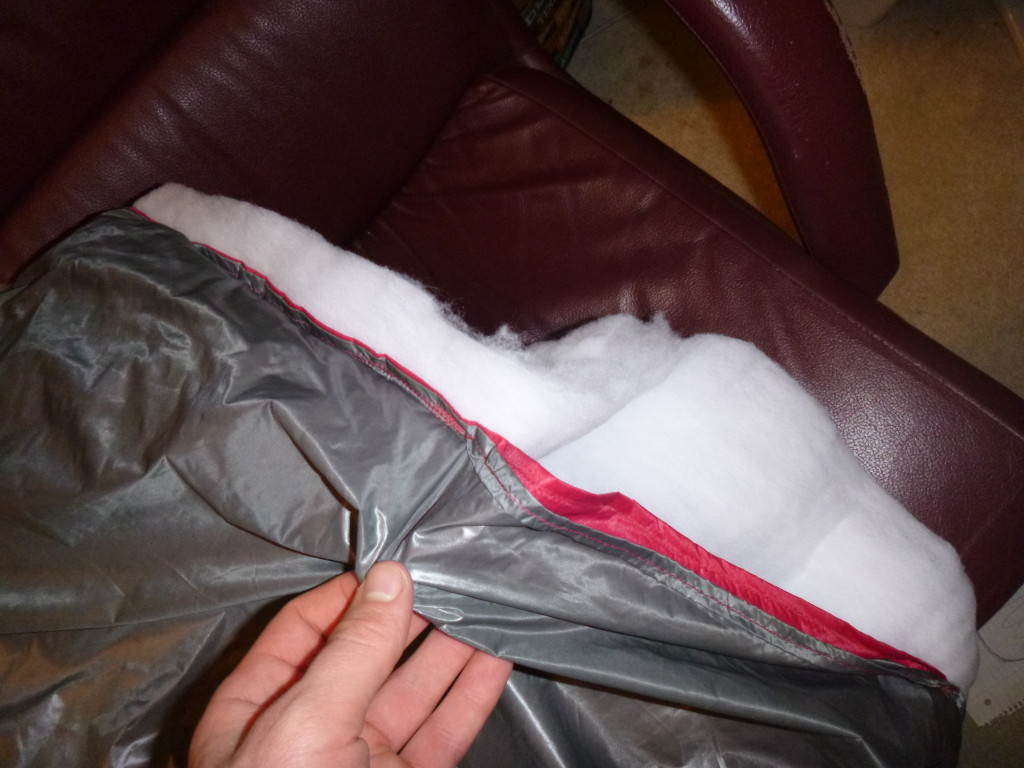
Stitch the perimeter:
Once every side has been stitched (except the one short side, where there is a gap to flip the whole quilt right-side out), do another straight stitch to reinforce the previous stitching. Aim to sew just inside the previous stitching.
Flip the quilt:
Make sure that the stitching looks nice and consistent, and that there are no big problem spots. Then, shove the entire quilt through the hole on the one short side to flip the quilt right-side out. Then, inspect the channel to make sure there are no major issues.
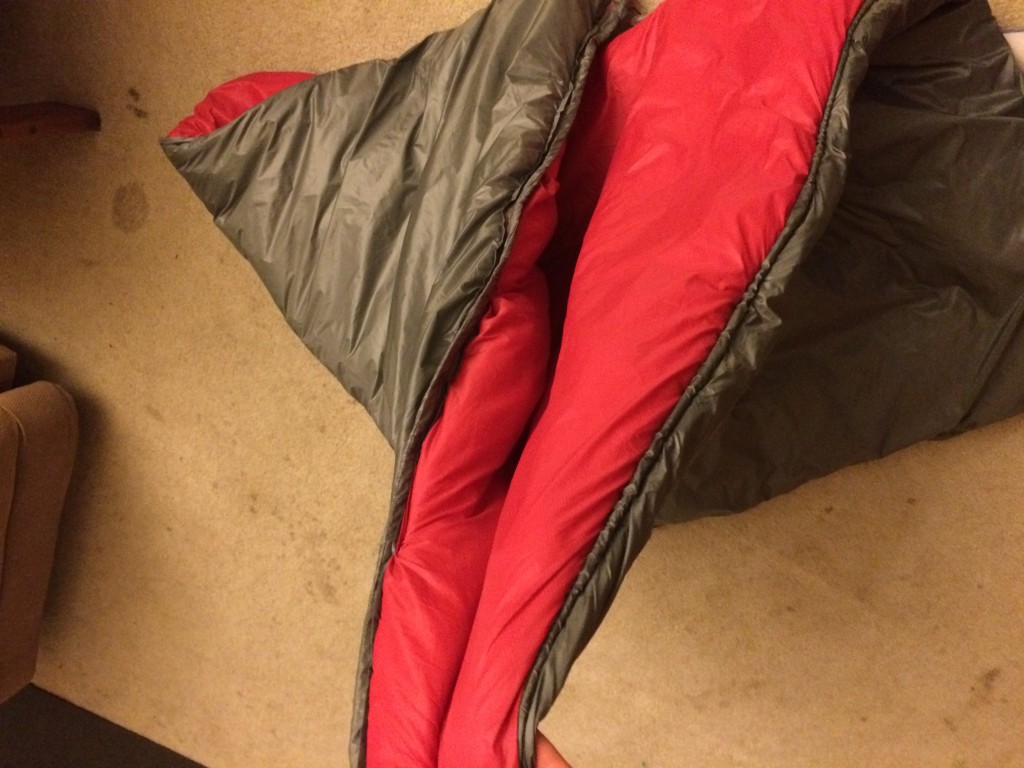
String paracord through the channel:
This was tedious at best… In hindsight,I’d make the channel, much bigger. At spots, the channel was no more than 1/8″ tall pulled taut–just wide enough to fiddle the paracord through. Also, when I flipped the ends of the channel back, I didn’t sew it to the sides, so there was open fabric that got caught on the paracord as I tried to get it through the other side of the tunnel. Eventually, I got both sides through and tied a quick stopper overhand knot to ensure it wouldn’t slip back through!
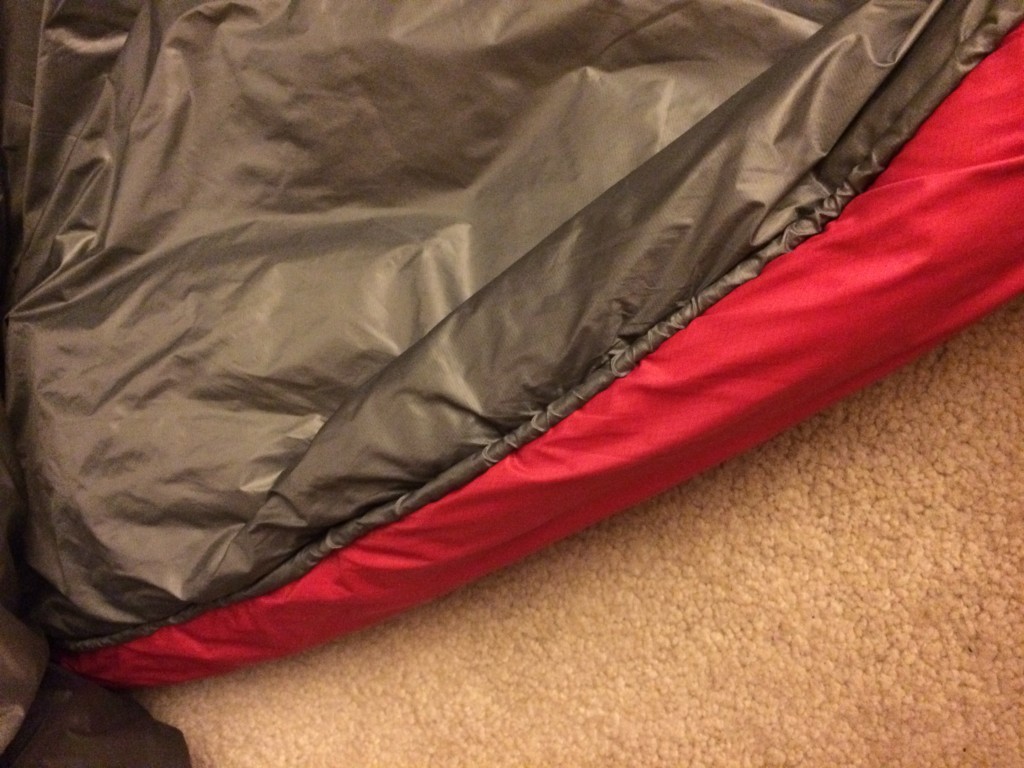
Sew the open end shut:
Mash the ends together and sew them closed. Make sure there are no gaps or holes and you can no longer see any insulation. I didn’t use any sort of special technique here, just try to match the sides so there is no bunching.
Prepare material for bungee cord enclosure:
Measure and cut 2 strips of grey Ripstop Nylon 6″ wide by 44″ long. Measure 2- 45″ lengths of bungee cord. Sew a rolled hem on every side.
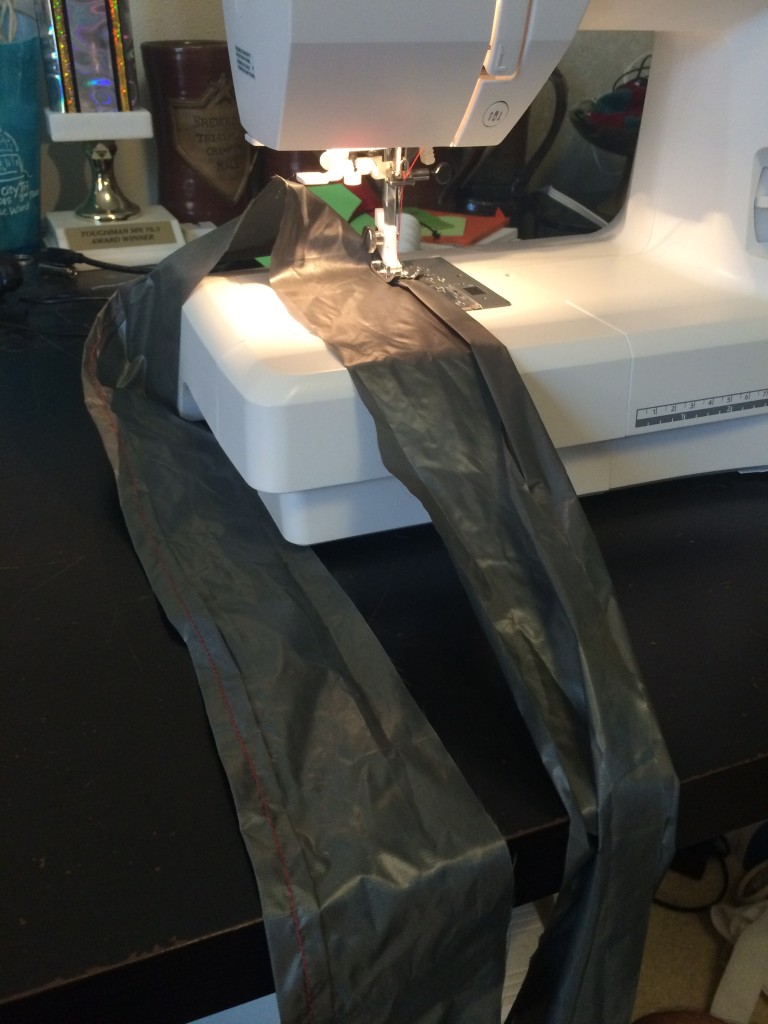
Sew in the bungee cords:
Fold the enclosure strip in half and place the bungee at pit of the fold, like a taco fold. Stitch as close to the outside of the fold as possible without going completely on top of the bungee cord.
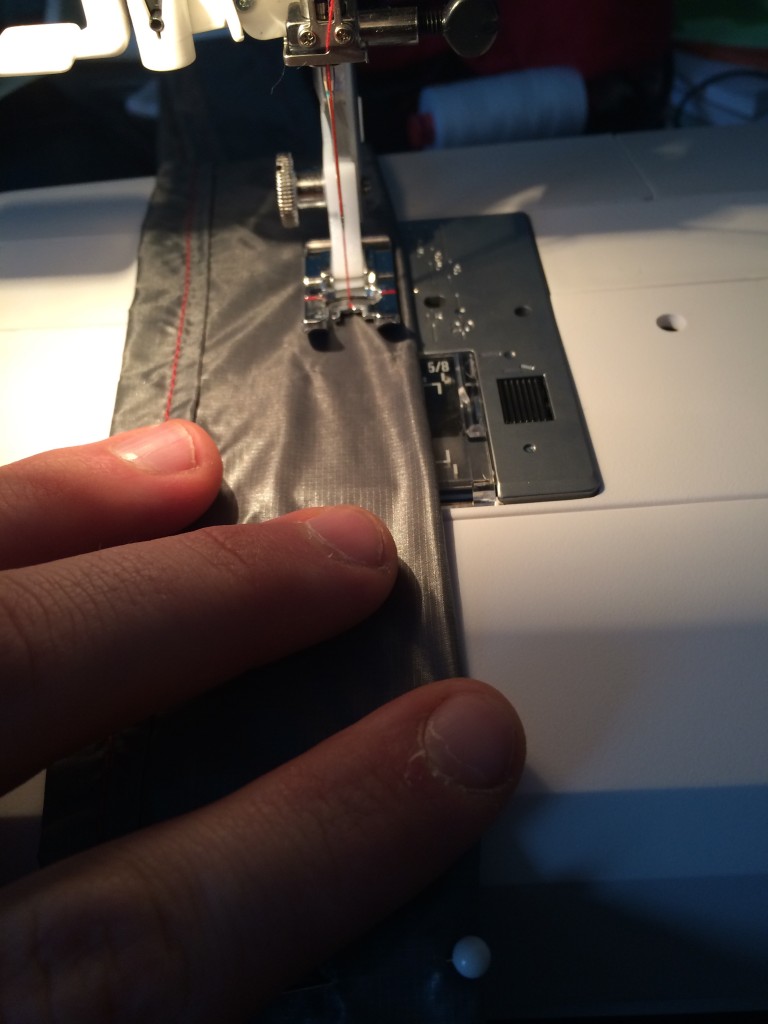
Make grommets at the ends, then scrap ’em:
Hammer in four grommets to the end of the enclosure so the cord can pass through. Prepare to pin the cinch cord enclosure on to the quilt. Here is where I realized the grommets were not the right way, so I scrapped ’em! The bungee cord runs by the grommet on its way out, hence, no use for the grommets at all.
Pin and sew cinch cord enclosure on the quilt:
Wrap the enclosure strip stitching down, around the short ends of the quilt. Aim for the direct center, where the bungee cord is sewn in, to be directly on top of the quilt seam. Then, sew it on!
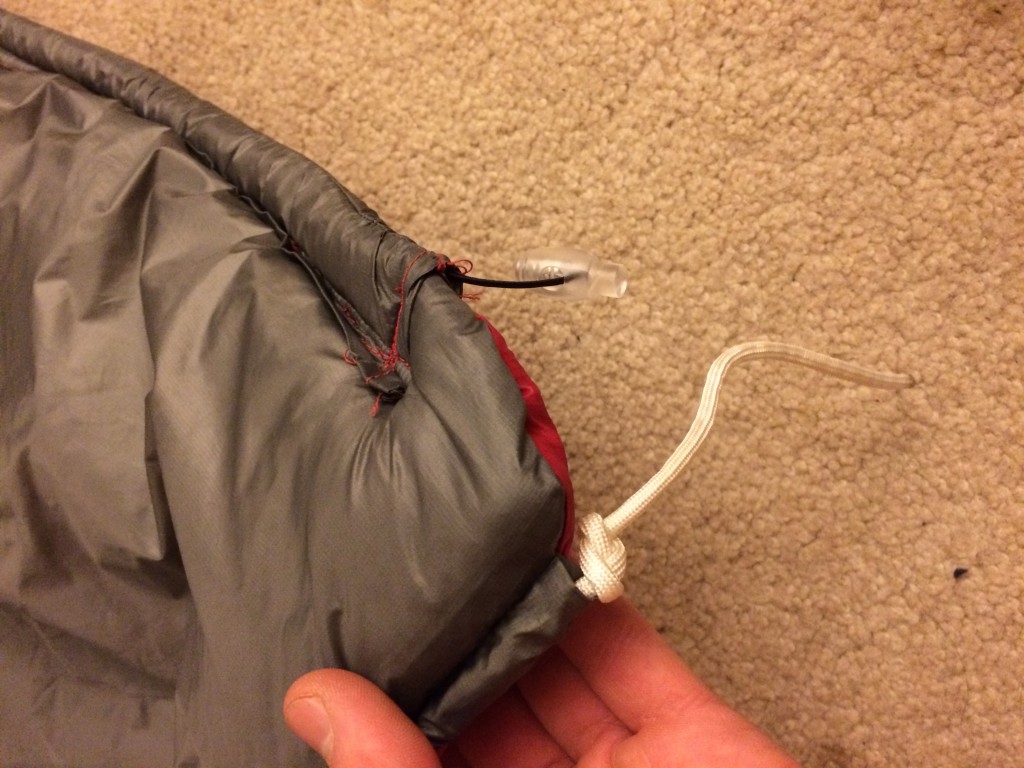
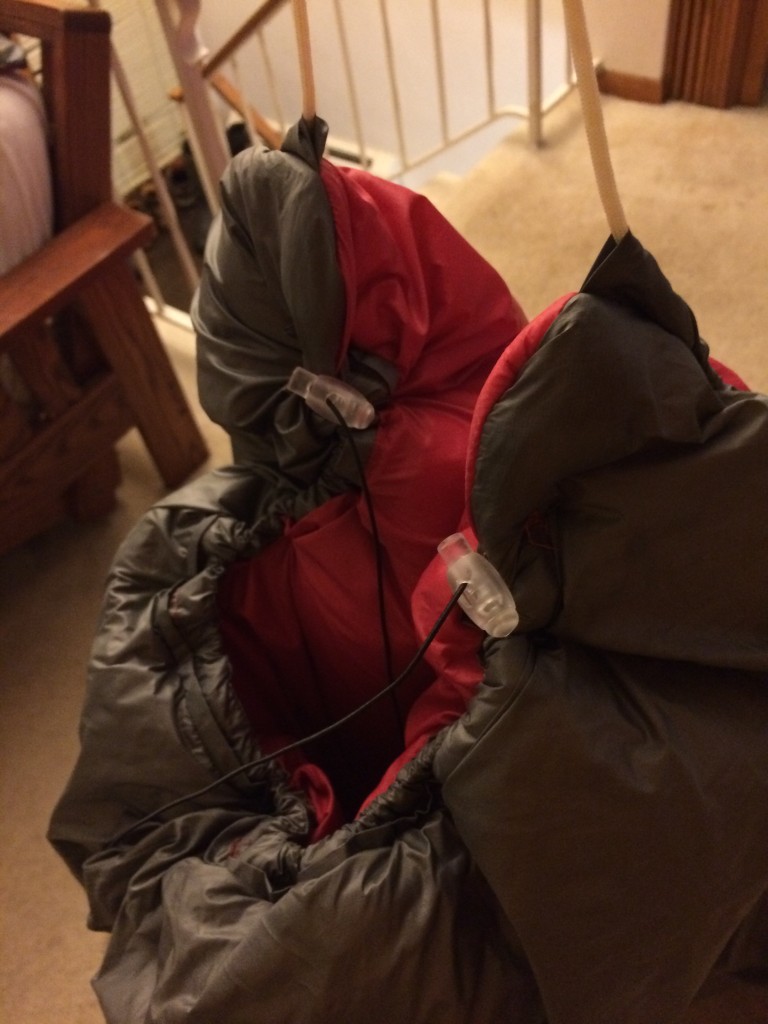
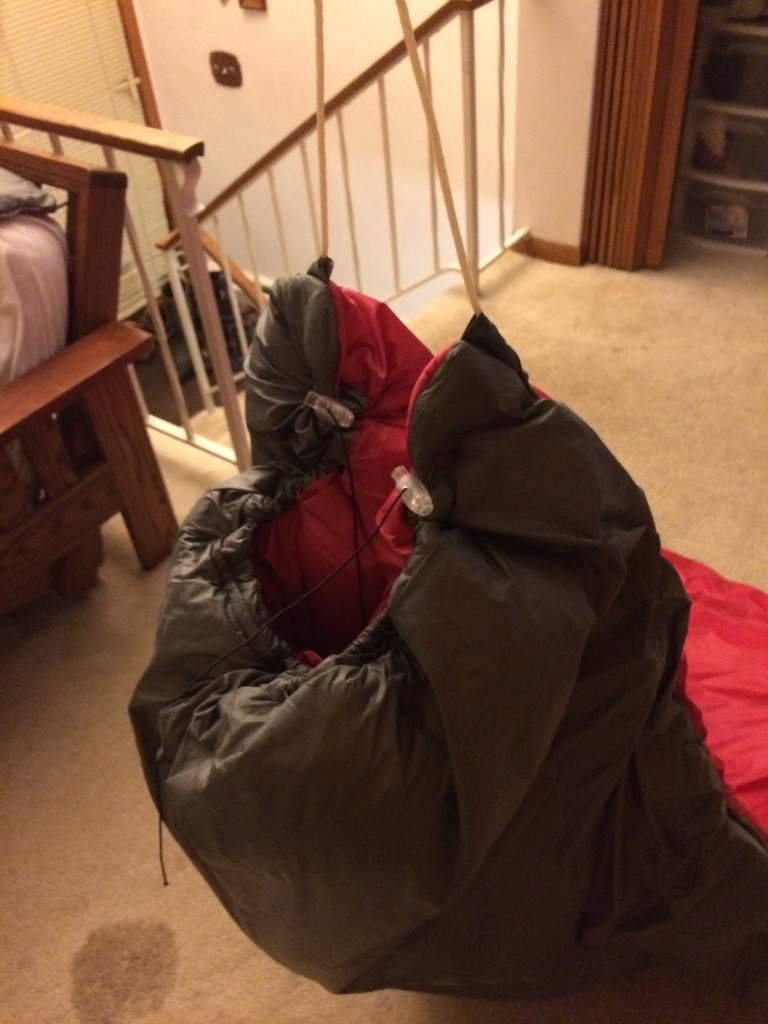
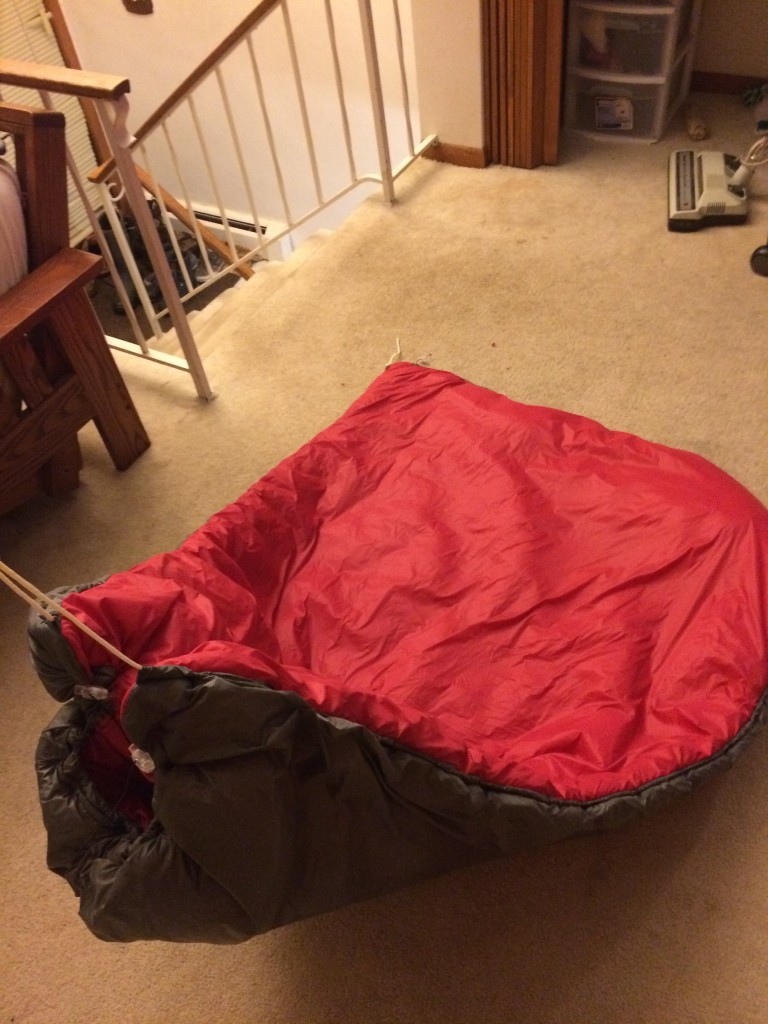
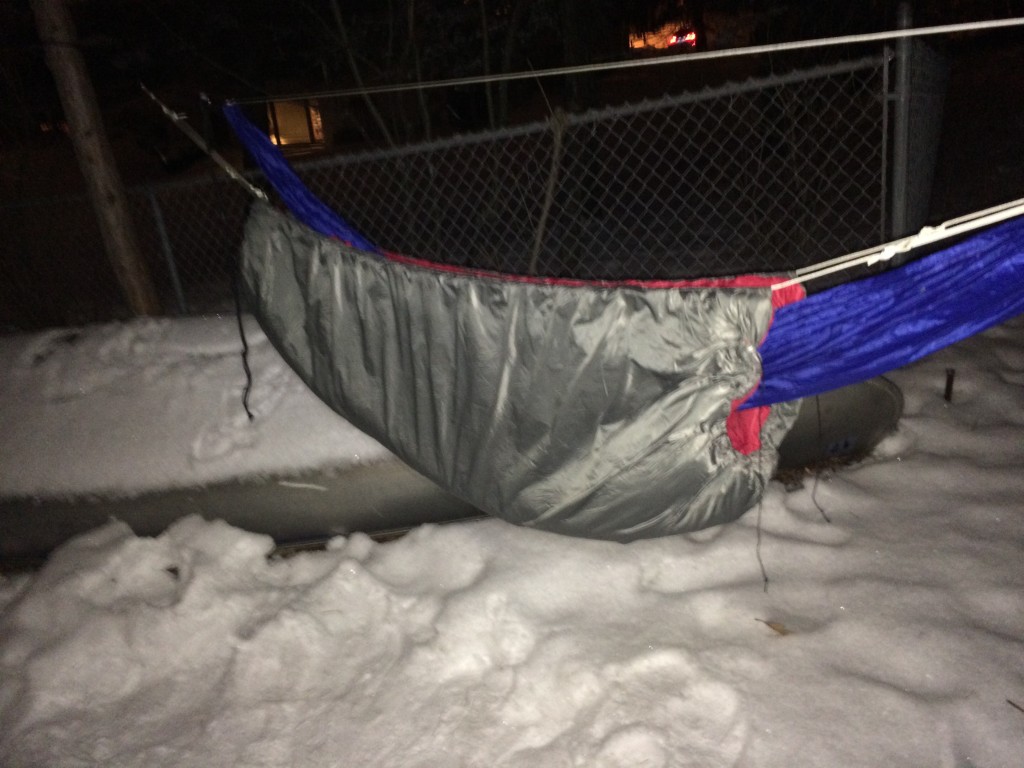
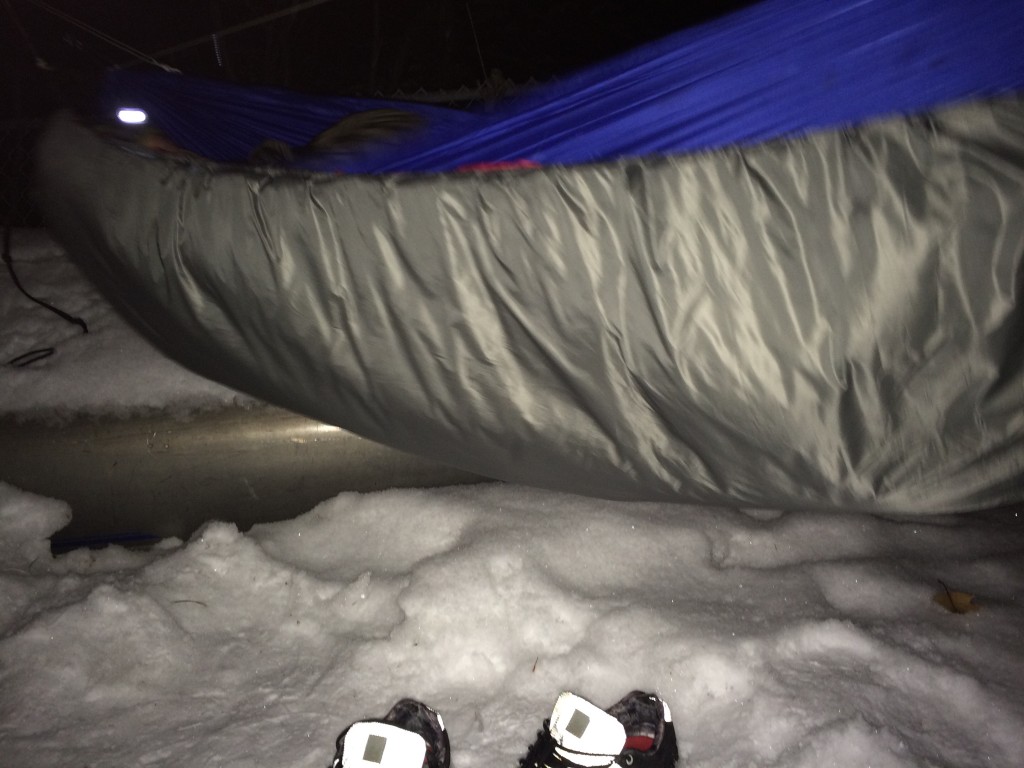
DONE

0 Comments